Adding a splash screen to your Android app
Learn how to add a splash screen to your Android app.
Overview
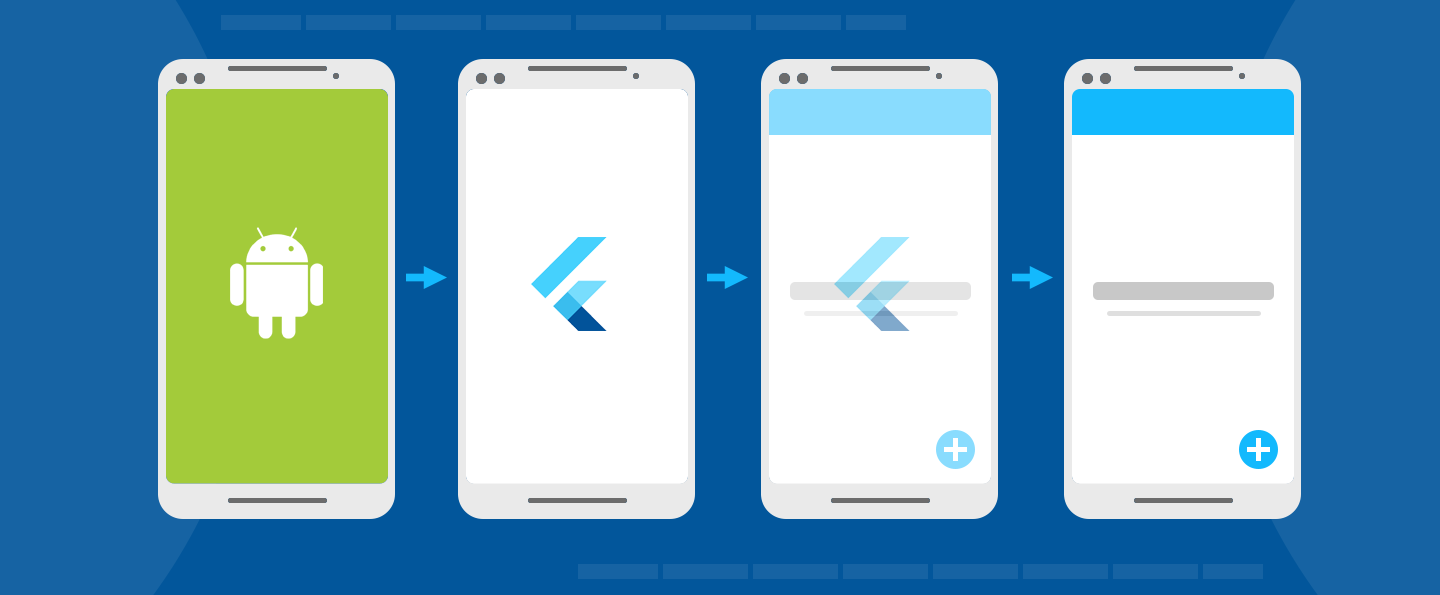
#A splash screens (also known as a launch screen) provides a simple initial experience while your Android app loads. It sets the stage for your application, while allowing time for the app engine to load and your app to initialize.
You have a couple options for implementing a splash screen:
-
You can use one of the packages available on pub.dev.
-
You can implement it manually, as shown in the splash screen sample app. The rest of this page assumes the manual approach.
Initializing the app
#
Every Android app requires initialization time while the
operating system sets up the app's process.
Android provides the concept of a launch screen
to
display a Drawable while the app is initializing.
A Drawable is an Android graphic.
To learn how to add a Drawable to your
Flutter project in Android Studio,
check out Import drawables into your project[]
in the Android developer documentation.
The default Flutter project template includes a definition
of a launch theme and a launch background. You can customize
this by editing styles.xml, where you can define a theme
whose windowBackground is set to the
Drawable that should be displayed as the launch screen.
<style name="LaunchTheme" parent="@android:style/Theme.Black.NoTitleBar">
    <item name="android:windowBackground">@drawable/launch_background</item>
</style>
In addition, styles.xml defines a normal theme
to be applied to FlutterActivity after the launch
screen is gone. The normal theme background only shows
for a very brief moment after the splash screen disappears,
and during orientation change and Activity restoration.
Therefore, it's recommended that the normal theme use a
solid background color that looks similar to the primary
background color of the Flutter UI.
<style name="NormalTheme" parent="@android:style/Theme.Black.NoTitleBar">
    <item name="android:windowBackground">@drawable/normal_background</item>
</style>
Set up the FlutterActivity in AndroidManifest.xml
#
In AndroidManifest.xml, set the theme of
FlutterActivity to the launch theme. Then,
add a metadata element to the desired FlutterActivity
to instruct Flutter to switch from the launch theme
to the normal theme at the appropriate time.
<activity
    android:name=".MyActivity"
    android:theme="@style/LaunchTheme"
    // ...
    >
    <meta-data
        android:name="io.flutter.embedding.android.NormalTheme"
        android:resource="@style/NormalTheme"
        />
    <intent-filter>
        <action android:name="android.intent.action.MAIN"/>
        <category android:name="android.intent.category.LAUNCHER"/>
    </intent-filter>
</activity>
The Android app now displays the desired launch screen while the app initializes.
SplashScreen API
#
Android 12 introduced the SplashScreen
API.
Use the SplashScreen API in your styles.xmlfile.
For example:
<style name="LaunchTheme" parent="@android:style/Theme.Black.NoTitleBar">
    <item name="android:windowSplashScreenBackground">@color/bgColor</item>
    <item name="android:windowSplashScreenAnimatedIcon">@drawable/launch_background</item>
</style>
Some apps might want to continue showing the last frame of the Android launch screen in Flutter. For example, this preserves the illusion of a single frame while additional loading continues in Dart. To achieve this, the following Android APIs might be helpful:
import android.os.Build
import android.os.Bundle
import androidx.core.view.WindowCompat
import io.flutter.embedding.android.FlutterActivity
class MainActivity : FlutterActivity() {
override fun onCreate(savedInstanceState: Bundle?) {
// Aligns the Flutter view vertically with the window.
WindowCompat.setDecorFitsSystemWindows(getWindow(), false)
if (Build.VERSION.SDK_INT >= Build.VERSION_CODES.S) {
// Disable the Android splash screen fade out animation to avoid
// a flicker before the similar frame is drawn in Flutter.
splashScreen.setOnExitAnimationListener { splashScreenView -> splashScreenView.remove() }
}
super.onCreate(savedInstanceState)
}
}
import android.os.Build;
import android.os.Bundle;
import android.window.SplashScreenView;
import androidx.core.view.WindowCompat;
import io.flutter.embedding.android.FlutterActivity;
public class MainActivity extends FlutterActivity {
@Override
protected void onCreate(Bundle savedInstanceState) {
// Aligns the Flutter view vertically with the window.
WindowCompat.setDecorFitsSystemWindows(getWindow(), false);
if (Build.VERSION.SDK_INT >= Build.VERSION_CODES.S) {
// Disable the Android splash screen fade out animation to avoid
// a flicker before the similar frame is drawn in Flutter.
getSplashScreen()
.setOnExitAnimationListener(
(SplashScreenView splashScreenView) -> {
splashScreenView.remove();
});
}
super.onCreate(savedInstanceState);
}
}
Then, you can reimplement the first frame in Flutter that shows elements of your Android launch screen in the same positions on screen. For an example of this, check out the splash screen sample app.
Unless stated otherwise, the documentation on this site reflects Flutter 3.44.7. Page last updated on 2026-05-05. View source or report an issue.